
How to make buttermilk
Buttermilk is produced from the transformation of milk and is widely used in Anglo-American cuisine in both sweet and savory dishes.
- Easy
- 15 min
- Kcal 46
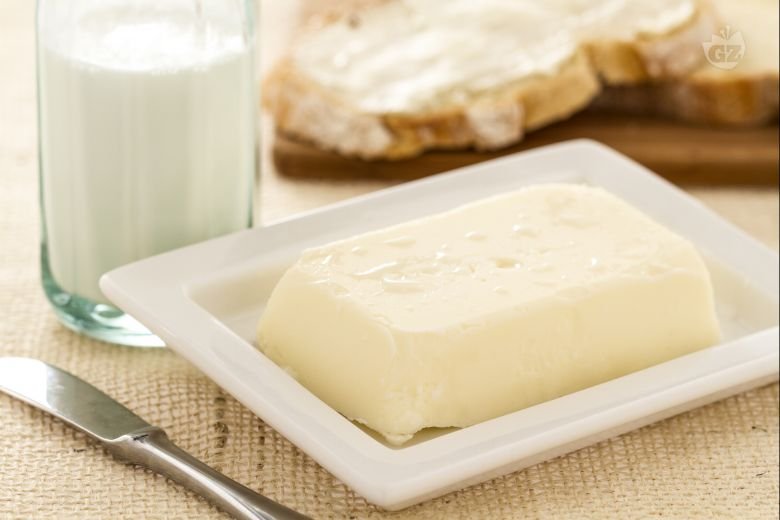
Golden color and ultra-creamy texture make homemade butter a standout for any family table. That rich dairy goodness looks so nice spread across fresh bread—something about that soft, natural finish feels great on everything from pancakes to simple toast. Sometimes you just want a real, straightforward flavor you don’t get from the store, right? Homemade butter flavor is always just a bit better and pairs up beautifully with family breakfasts, snacks, and even special dinners. Kids love how smooth it is, parents love it on vegetables, and—no kidding—it usually disappears fast at any gathering. Since easy butter making works for just about any food moment (everyday or celebration), it’s a favorite in busy kitchens where something simple but DELICIOUS matters most.
Families often like how make butter from cream talks to all ages: little ones feel great helping with holiday meals, while grown-ups sneak extra tastes as it gets passed around on warm rolls or muffins. Since you can take kitchen endeavor in so many directions—plain for classics, add honey for special toast mornings, mix with garlic and herbs for that artisanal delight effect—it just fits in all kinds of real-life meals. Having this on hand means you always have something good to stir into sauces, melt over hot veggies, or even share with friends in a friendly jar (cute label, quick gift…instant hit). Rotate it in on weeknights or during those homey, everyone’s-hungry “what’s for dinner?” evenings, since homemade butter holds up to any menu or last-minute request. Once butter churning method is part of your routine, family snacks, party trays, or quick comfort food never run out of easy options, making meal times happier and a little more special every time.
You might also like:
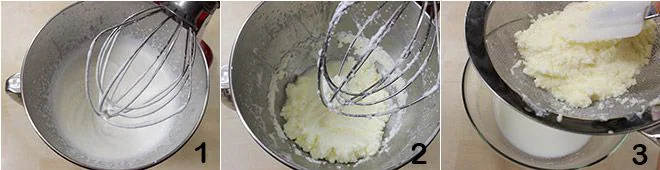
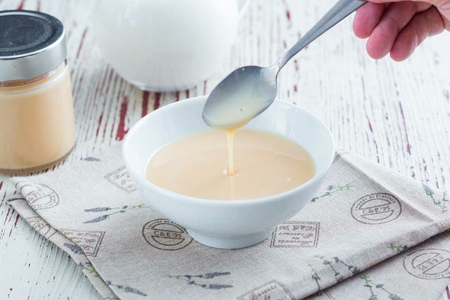
To prepare butter at home, pour the cream, cold from the refrigerator, into a stand mixer with a well-chilled bowl (we recommend putting the bowl in the refrigerator at least half an hour before using it). Start the stand mixer, begin to whip the cream 1 and, when it is whipped to stiff peaks, continue beating the mixture until the fats have completely separated from the liquids 2 and the cream, now turned into butter, has taken on a yellowish color: it will take about 20 minutes. When the fats (i.e., the butter) completely stick to the beaters, turn off the stand mixer, remove the mixture, and transfer it to a strainer placed inside a bowl. Using a spatula, remove all the buttermilk that formed during processing 3.
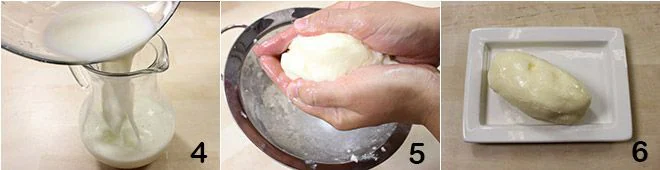
and transfer it to a jug 4 (you will obtain about 9 oz, which can be stored for 1-2 days in the refrigerator and used for making cakes instead of milk). Now squeeze the butter very well with your hands 5 to allow the liquid contained in it to completely escape: this operation is very important because it allows the butter to last longer and prevents it from going rancid and oxidizing. Finally, shape the butter as you prefer... and voilà! You have made your "homemade" stick of butter 6.