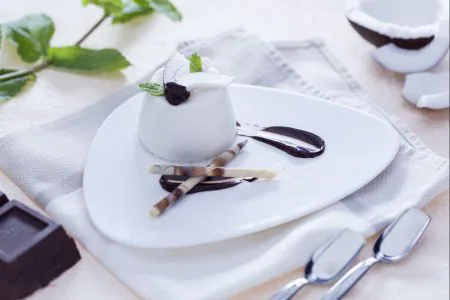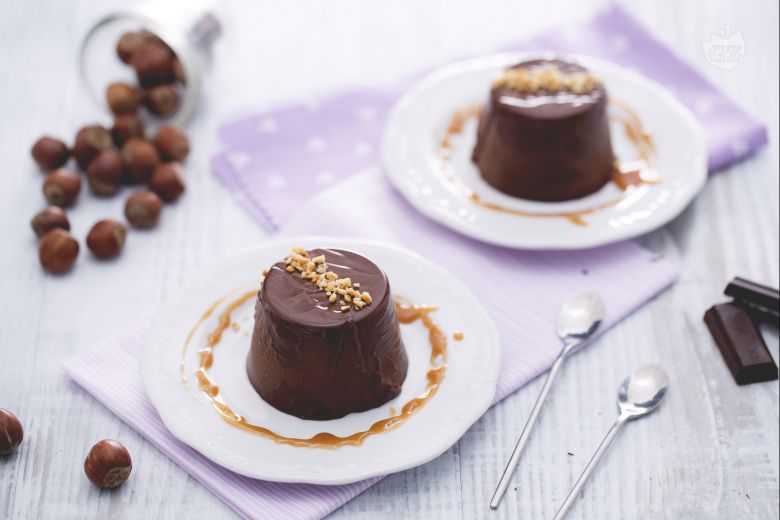

Panna Cotta Chocolate Eggs
The panna cotta chocolate eggs are a perfect spoon dessert to beautifully conclude your meals during the Easter period!
- Very easy
- 15 min
- Kcal 315
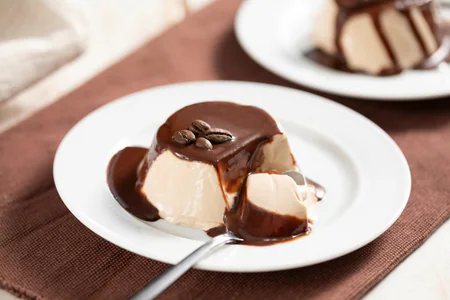
The chocolate hazelnut panna cotta from Piedmont is this really really tasty Italian treat. It combines rich chocolate and hazelnuts in the best way. Honestly, it’s all about that smooth, creamy texture. Feels fancy, yet it's super comforting. Dig in and enjoy each bite as it offers a tender, melt-in-your-mouth experience. And the salted caramel panna cotta version? So so good. It mixes salty and sweet for a kick that keeps you coming back for more. Piedmont is famous for its hazelnuts and high-quality chocolate—perfect for when you want to impress your guests.
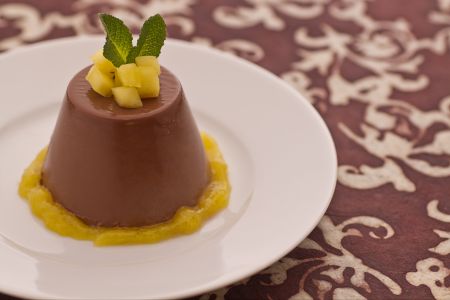
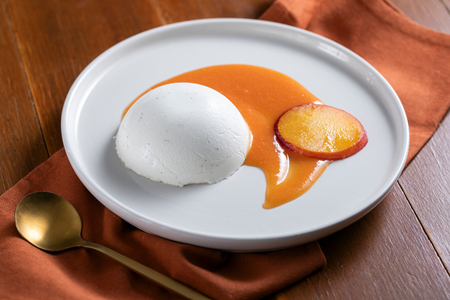
Here's the thing: making this dessert ahead of time is really simple. The chocolate panna cotta recipe chills in the fridge until you need it—perfect for parties or just having a treat ready. Italians often switch it up with peach coulis in the summer, which is great, showing how this easy panna cotta recipe adapts to the seasons. Light and fruity in the warm weather, cozy and rich when it’s cold. Plus, the combo of moist panna cotta and crispy bits of hazelnut on top adds something extra to every bite.
Look, this is classic Italian thinking: match flavors right, nail the texture, and prep without stress. If you’re after a caramel panna cotta with flair, or just a solid dessert for family and friends, this checks all the boxes. And it’s the kind of creamy dessert you’ll remember. Especially once that salted caramel sauce does its magic, bringing all the flavors together in a totally golden finish. For sure, give it a try and enjoy a taste of Piedmont right at home. Trust me, you won’t regret it.

To prepare the chocolate panna cotta, start with the gelatin sheets: soak the gelatin sheets in a bowl with cold water for at least 10 minutes 1; meanwhile, you can chop the dark chocolate on a cutting board with a knife 2; once chopped, let it melt in a bain-marie 3.

In a saucepan, pour the cream 4 and let it heat; sift the powdered sugar separately 5 and then add it, stirring with a whisk 6 to incorporate it well (you can also sift it directly into the pot).

Keep an eye on the chocolate as it melts, and as soon as it is well melted without lumps, add the hazelnut paste 7 and mix thoroughly 8. Once the chocolate and hazelnut paste are well combined, pour over the hot cream 9.

Drain the gelatin sheets, now softened, and add them to the still-hot mixture 10, stirring well to prevent lumps. Prepare the small panna cotta molds, each with a capacity of about 3.4 oz, and pour the mixture 11; once cooled to room temperature, place the molds on a tray 12, or a plate, and leave them in the refrigerator for at least 4 hours.

To prepare the salted butter caramel, simply pour the sugar into a small pot along with water 13 and salt 14. Do not use any utensils to stir; instead, swirl the pot and let the ingredients dissolve well 15.

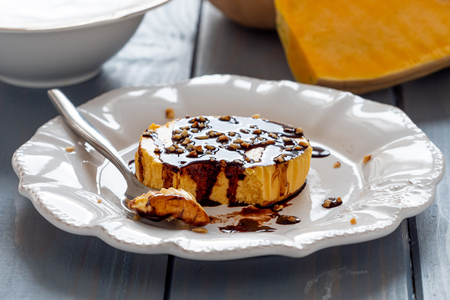
When the caramel has turned golden, immerse the pot in cold water to stop the cooking process, place the pot on a surface, and then add the butter, stirring until fully absorbed 16. After the cooling time, remove the panna cottas from the molds: to make this easier, you can dip the molds in boiling water for a few moments 17; then run a small knife around the edge and invert to release. Decorate the chocolate panna cotta with chopped hazelnuts and drizzle a little salted caramel on the plate and the dessert using a spoon 18. The chocolate and hazelnut panna cotta with salted caramel is now ready to be served.