
Roman Pinsa
Roman pinsa, a wonderful and appetizing invention: not a focaccia, not a pizza, but a unique leavened product. Discover how to prepare it!
- Difficult
- 60 min
- Kcal 632
Pinsa dough recipe hails from the heart of Rome, and let me tell you, it’s way way different from regular pizza dough. What makes Roman-style pizza dough special is the blend of flours—like wheat, rice and soy—that gives it an incredibly light and airy texture. In Lazio, they really love their high hydration dough, meaning more water is added. This makes for a base that’s crispy on the edges yet soft inside.
And here’s the deal: the secret to an authentic pinsa base is letting it ferment for over 34 hours in the fridge—yeah, that long. It’s worth it because this extended pinsa fermentation makes the crust more digestible and brings out a mild, great flavor. When you're crafting a traditional pinsa, patience pays off. You'll notice how the dough turns bubbly and moist once it's baked.
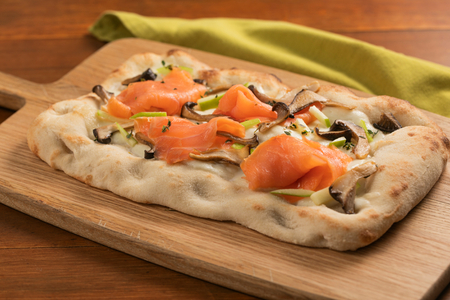
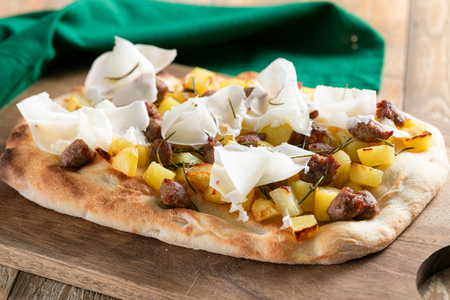
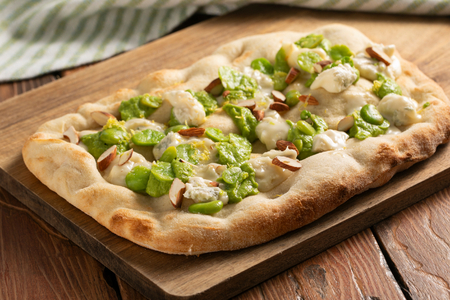
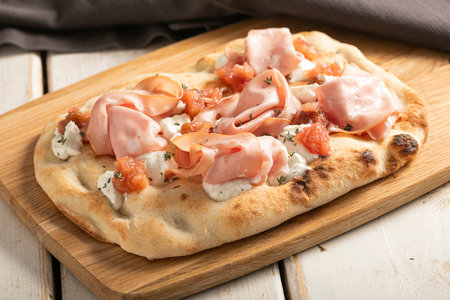
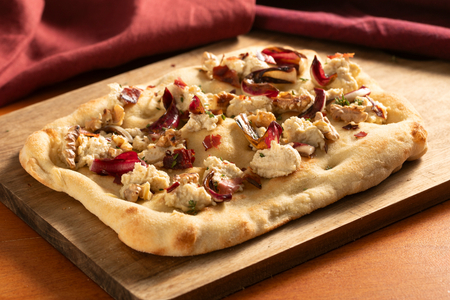
Now, unlike regular pizza, pinsa gets a quick solo bake before adding any toppings. This pre-cook creates that perfect combo: tender in the middle, with a base that's golden and a bit crisp underneath. And the toppings? Romans have their favorites—from classic tomato and mozzarella to prosciutto and veggies. You know, some choices you wouldn’t normally find on pizza.
Because the pinsa dough recipe is so versatile and fluffy, experimenting with it is a breeze. Plus, the special pinsa flour blend is what gives it that distinct texture and taste, so don’t even think about using regular pizza flour. Whether you’re making a homemade pinsa crust for a cozy weeknight dinner or diving into the pinsa vs pizza debate, this dish shows why Roman cuisine is so beloved.
Look, patience, quality flour, and a touch of creativity are really all it takes to enjoy a slice that’s something special. Next time you’re in the mood for something different yet delicious, try this Roman delight. You’ll see why it’s such a favorite in the Eternal City. Pretty much.
You might also like:
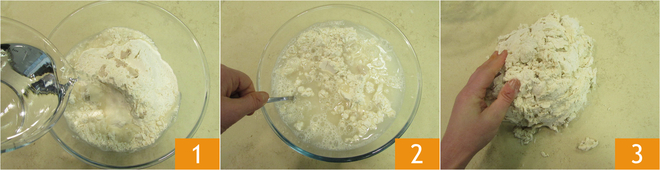
To prepare the basic pinsa dough, first put the pinsa flour and the crumbled fresh brewer's yeast in a large bowl. Also add 700 g of cold refrigerator water (about 34 fl oz / 3 cups) and stir with a spoon, until absorbed. Transfer the dough to a work surface and, without adding more flour, start kneading. Don't worry if at first the mixture looks very rough.
Knead for a long time until you obtain a smooth, compact consistency. Transfer the dough to a bowl and make 3 slashes with a knife: this helps the subsequent ingredients to be absorbed better.
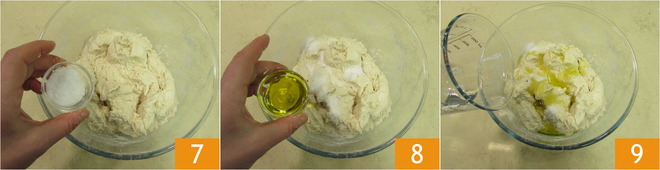
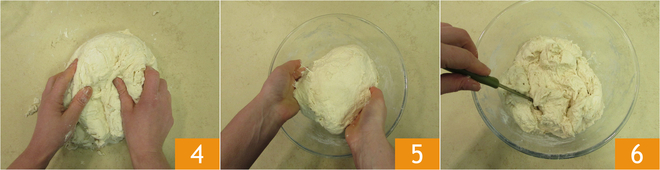
Then add the salt, the oil and the remaining 50 g of cold water; add this last amount little by little while continuing to knead (about 1.7 fl oz / roughly 3 1/3 tbsp).
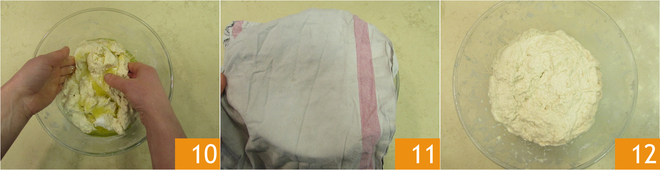
Work a few more minutes by hand to make sure all the ingredients are well absorbed. You can also knead on the work surface and give a few strengthening folds if you prefer. The dough will already be smoother. To make it even smoother you can leave it in the bowl covered with a kitchen towel for 15 minutes. After the indicated time, uncover the bowl.
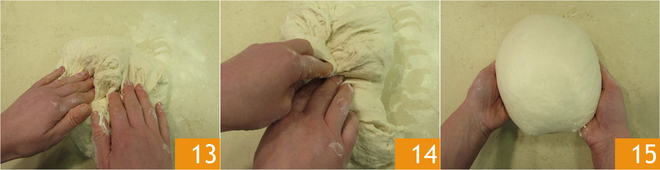
Dust the work surface with a little pinsa flour. Turn the dough out onto the surface and perform folds as follows: take the edge of the dough in turn and pull it toward the center. You will see the dough start to become smoother. Then flip it and shape it into a ball, rolling it on the surface to seal the closure.
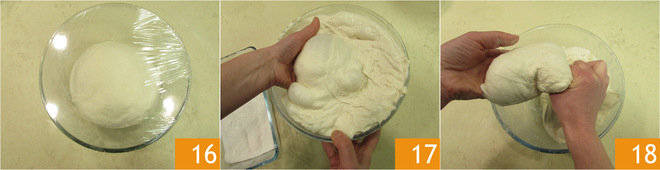
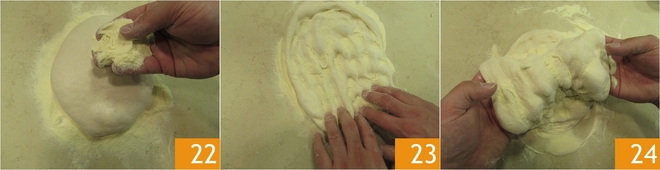
Transfer the dough back into a bowl, this time oiled. Cover with plastic wrap and let rise at room temperature until doubled; this will take about 2 hours. Then transfer to the refrigerator for 34 hours. After this time the dough will be very puffy and airy. Prepare a bowl with semolina, then, with slightly moistened hands, take portions of dough weighing about 250–300 g (about 8.8–10.6 oz; roughly 0.55–0.66 lb). You must separate the dough by literally "pinching" it off: lift part of the dough from underneath with one hand and with the other cut it off, almost like pulling apart mozzarella.
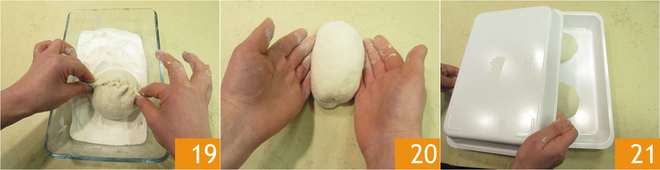
Place each piece of dough with the smooth side on the semolina, then pinch the closure of each ball. Turn it over onto a surface with the pinched side down and rotate the dough with both hands to seal it well. Place the dough ball on a tray with the smooth side up. Continue the same way for the others and arrange them on the tray spaced well apart. Cover with another tray and let rise for 3–4 hours at room temperature until doubled.
After the proofing time of the dough balls, take one and place it on a work surface generously sprinkled with semolina. Also dust the surface of the dough with semolina. Starting from the edge closest to you and moving upward, press lightly with your fingers to flatten the dough. Press with your fingers almost parallel to the work surface so as to distribute the air evenly. Shape it as rectangular/oval as possible. While you gently lift the dough, try to remove any excess semolina.

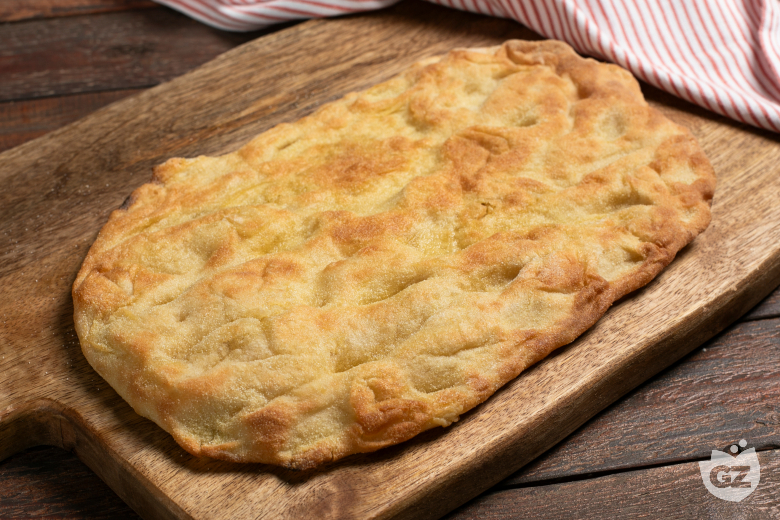
Move it onto a peel slightly dusted with semolina and stretch gently to obtain an even more oval shape, about 13–13 3/4 inches (33–35 cm) long and about 7 7/8–8 2/3 inches (20–22 cm) wide. Bake for about 7–8 minutes under the grill at maximum power, placing the pinsa on a baking stone: this is the pre-bake. Now you only need to top your pinsa base with the ingredients you love and return it to the oven!