Whoopie
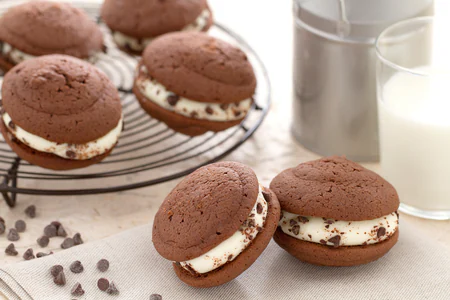
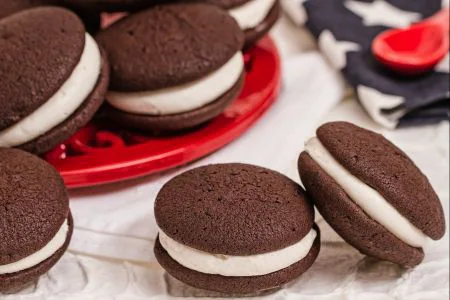
The whoopies are delicious treats, of American origin, consisting of two soft cakes joined together by a delicate marshmallow cream.
- Average
- 1 h 20 min
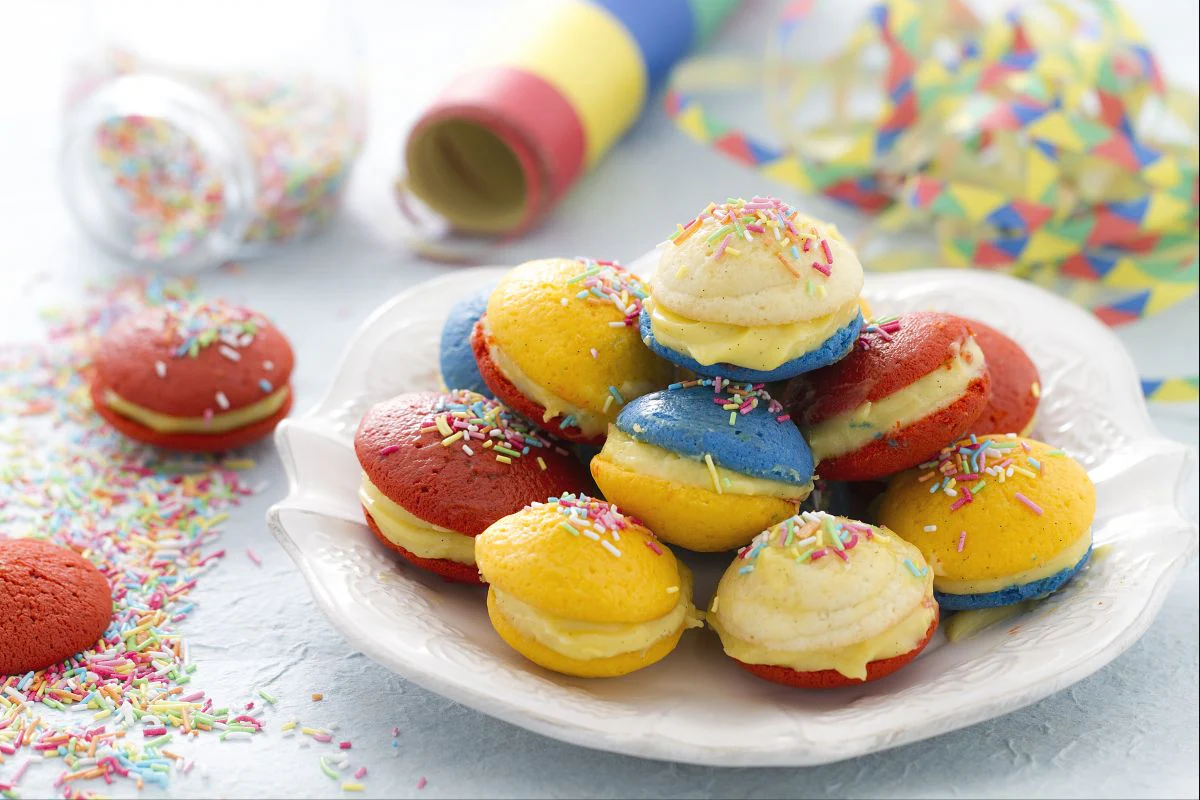
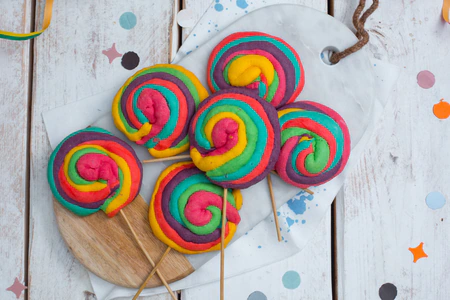
If you’re looking to add a splash of color to your dessert table, a rainbow whoopie pie is the way to go. These are the classic American treats you know and love—two soft, moist cake-like rounds with a creamy filling in the middle. But with this version, the dough is transformed into a bright, multi-colored masterpiece. Really good stuff. Whether you use gel, liquid, or powder food coloring, each piece of dough pops with eye-catching hues. When you bite into these, you’ll get a burst of sweet flavor and that magical look of rainbow layers. This whoopie pie recipe is perfect for grabbing attention at celebrations like Carnival. They bring bold splashes of color and soft textures that both kids and adults will gravitate towards.
Plus, while not every whoopie pie is this playful, the rainbow version encourages creativity. The filling is typically a rich custard cream, smooth and creamy, but you can swap it out for buttercream, whipped cream, or chocolate to suit your taste. Which is great. This flexibility makes the homemade whoopie pie a fun canvas for experimenting with flavors and colors, especially for events that call for a festive touch. Carnival celebrations are a big hit for these pies because everyone loves food that looks as fun as it tastes. The colorful layers make each bite feel like a mini celebration.
And here’s the thing: Whether for dessert buffets or just because you want to brighten someone’s day, this rainbow whoopie pie recipe lets you show off your colorful side and adds a cheerful vibe to any spread. For sure. Whether you’re baking at home or putting together a party, you’ll have a great time making and enjoying these colorful treats. They’re not just delicious but also a feast for the eyes—really, really fun—making them a fantastic choice for any occasion where fun and flavor are on the menu. Can't go wrong.
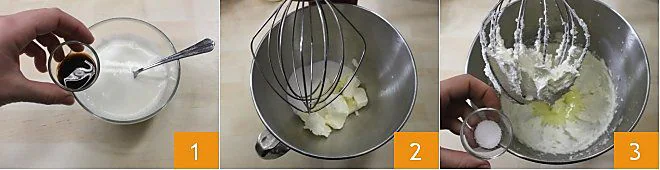
To prepare the rainbow whoopie, start by making the dough: mix the cream and the vanilla extract 1. In the bowl of a stand mixer, or with the beaters of a hand mixer, whip the butter with the sugar until you get a smooth mixture 2. Add the egg, the salt 3, and
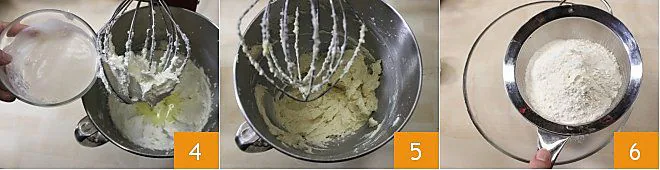
the cream mixed with vanilla 4, then mix again to combine the ingredients 5. At this stage, it's important that all ingredients are at the same temperature; otherwise, the butter will immediately become lumpy. If this happens, don't worry: adding flour, which is a stabilizer, will make everything homogeneous. Sift together, in a bowl, the flour, cornstarch, and baking powder 6.
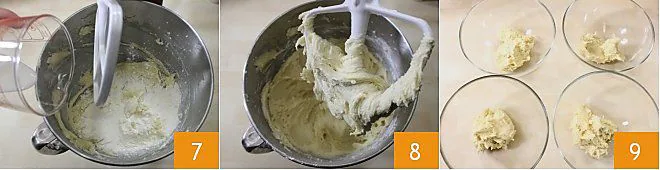
Add the dry ingredients to the mixture, alternating them with the milk 7, and keep mixing: you will get a very thick, soft, and compact mixture 8. Divide the dough into 4 equal parts 9: one part will remain white, while the other three will be colored.
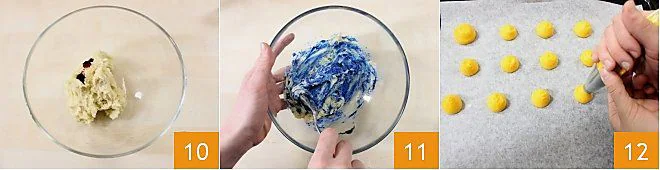
Add a few drops of food coloring to the three parts of dough to be colored 10: you can choose your preferred color; we used yellow, red, and blue. Start by adding a little coloring, then mix vigorously 11, and if the color doesn't satisfy you, add more coloring until you get the desired shade. Transfer the mixture to a piping bag with a plain tip, and on a baking sheet lined with parchment paper, squeeze the dough to form rather tall disks, 1 inch in diameter 12.
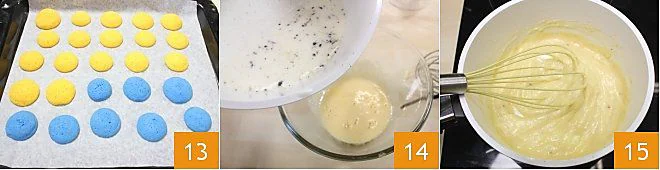
Bake the whoopie in a preheated static oven at 356°F for 13-14 minutes (if fan-assisted, 320°F for 10-12 minutes) 13. Meanwhile, prepare the pastry cream according to the instructions Pastry cream: heat the milk in a saucepan with half of a vanilla bean and its seeds; whisk the yolk and sugar in a bowl, then add the flour. With tongs, remove the bean and pour the heated milk over the mixture in a thin stream 14, blending with the whisk. Return the mixture to the heat and stir continuously until the cream thickens 15. Transfer the pastry cream to a bowl and let it cool, storing it with a sheet of cling film in contact. Remove the whoopie from the oven and let them cool on a wire rack.
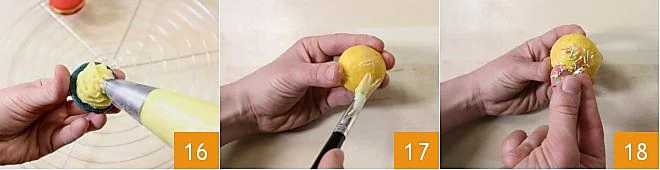
When they are cool, transfer the cream into a piping bag, saving a couple of tablespoons. Assemble the rainbow whoopie: take a colored disk and fill it with a dollop of cream; take another disk of the same or a different color, brush the surface with the reserved cream 17, and place it on the filled disk, pressing lightly. Sprinkle the brushed surface with sprinkles, which will adhere well 18. Fill all the other whoopie in this way until they are finished: your rainbow whoopie are ready!
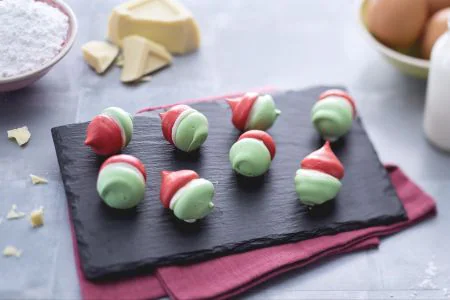
You can fill the rainbow whoopie with your preferred cream: white chocolate pastry cream; buttercream; Chantilly cream; Chocolate custard cream.