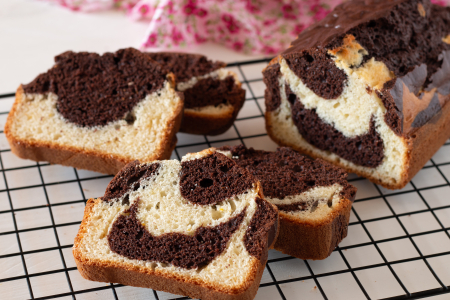

Marble Cake
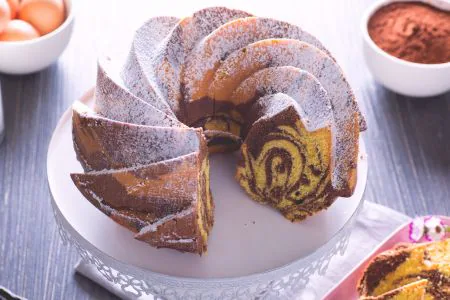
The marble cake is a breakfast or snack dessert with a dual-flavor batter, chocolate and white: it creates a marble-like effect during baking.
- Average
- 1 h 10 min
- Kcal 519
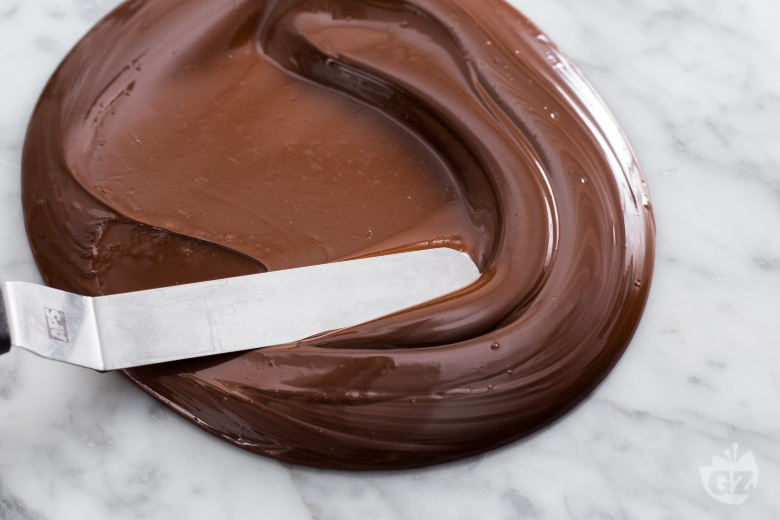
Tempering chocolate on marble is a classic move in Italian pastry kitchens—where precision, and honestly, tradition really matter. Instead of just melting and pouring, this method focuses on every tiny detail. Really good stuff. You use a marble slab to cool the chocolate to just the right silky texture. Folks in Italy, especially those pastry chefs like Gianluca Fusto, swear by this technique for getting that glossy shine and crisp snap that makes homemade treats stand out. Seriously, it works. A big part of the success comes from high-quality chocolate and knowing how to use a thermometer to hit those critical chocolate tempering temperatures. You spread the melted chocolate onto the cool marble surface, moving it around until it gets thick and smooth, then bring it back to the right temperature.
It's not just science. Nope, there's real skill in judging when the chocolate is ready. That's why so many pastry chefs love the marble slab chocolate tempering method for making chocolates, bars, or those shiny Easter eggs that look perfect every time.
Different regions in Italy have their own little traditions, but the marble slab has a solid reputation for keeping chocolate from getting grainy or streaky. Compared to other chocolate tempering techniques like seeding, this one lets you see the chocolate change right before your eyes—getting thick and glossy, then cooling to a firm and snappy finish. And the result? People love this for decorations that won’t melt in your hand. You end up with chocolate that feels way, way different—crisp on the outside, not sticky or soft.
Using a marble surface for chocolate tempering is kind of a secret weapon in pastry circles. It helps control the temperature and gives you results that look and taste professional—pretty much. Whether you’re trying out how to temper chocolate for the first time or have seen different chocolate tempering methods in action, working on marble boosts your confidence. You'll get some seriously brag-worthy treats. That bit of patience and focus pays off with chocolate that’s smooth, shiny, and really satisfying to crack into. With the right technique, your chocolate creations will definitely impress anyone who tries them.
You might also like:
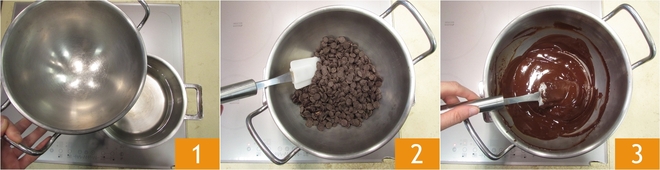
For marble chocolate tempering, the first thing you need is a thermometer and melt the chocolate. You can choose to do it in the microwave or with the bain-marie method that we will show you. Place a pot with water on the stove and put a mixing bowl on top 1. The water should not boil too much; otherwise, it may evaporate and fall into the chocolate. Then pour the chocolate chips or coarsely chopped chocolate inside 2 and stir until it melts 3.

Using a thermometer, check that it has reached a temperature between 122 and 131°F 4. At this point, carefully dry the bottom of the mixing bowl and transfer the chocolate onto clean and perfectly dry marble 5. With the help of two spatulas, push the chocolate on the marble 6, spreading it and collecting it back towards the center to cool the cocoa butter.
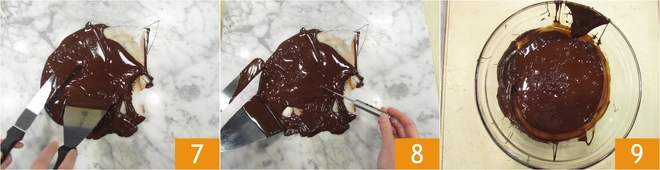
You will notice that gradually the chocolate will become shiny and thicker 7. Measure the temperature from time to time 8, and as soon as it reaches 84°F, transfer it into a bowl using the two spatulas 9.
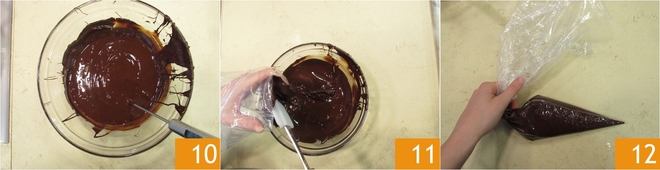
Mix the chocolate and heat it again in the microwave (a few seconds, stir and measure the temperature again) or in a bain-marie until it reaches a temperature of 88°F, ideal for working. The chocolate is now tempered, transfer it into a piping bag 11 12 and use it immediately for your preparations, we show you some examples.
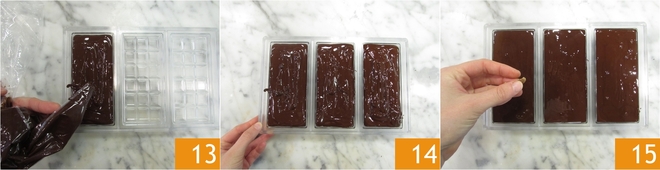
After tempering the dark chocolate, transfer it into a bar mold, filling it to the brim 13. Move the mold, gently tapping it to eliminate any air bubbles 14 and wait a few seconds before adding the nuts 15.

Refrigerate for 10 minutes, then transfer to a cool, dry place and let it solidify completely 16. You will notice that the top part of the mold will become opaque, which means the chocolate is well crystallized, and you will just need to turn the mold over to extract the bars 17. The homemade chocolate bars are ready 18.