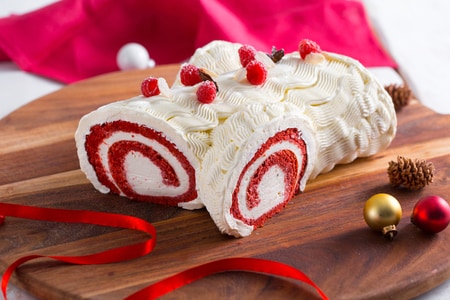
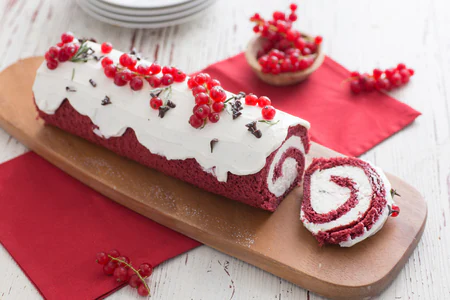
Red velvet roll
The red velvet roll is a perfect dessert to prepare for Christmas day. Your guests will fall in love with its taste and color!
- Average
- 57 min
- Kcal 321
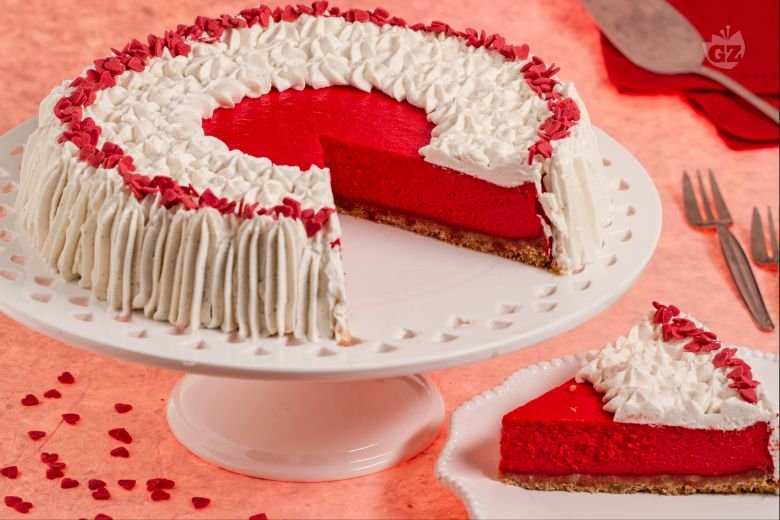
Red Velvet cheesecake is, let's be real, a dessert that really grabs attention the moment it hits the table. And look, the contrast between the vivid red layer and the smooth, white whipped cream topping makes it almost too good to eat—almost! This treat comes from the classic American Red Velvet cake, often called “the queen of pastry.” The red velvet cheesecake adds a fun twist to celebrations and get-togethers. What really really makes it special is how the fresh cream cheese is mixed with vanilla and a splash of food coloring to create that bold red color. Seriously good. It’s definitely a showstopper, especially for those who want something a bit different than the usual desserts. Every bite is a mix of moist cheesecake with a hint of cocoa, and you get that tangy kick from the cream cheese filling that everybody loves in a red velvet cake cheesecake. Across the U.S., people have come up with all kinds of versions, from red velvet cheesecake cupcakes at parties to those wild mashups at big chain spots like the Cheesecake Factory. But honestly, the homemade kind stands out with its velvety texture and unmistakable taste. So here's the thing: this isn’t your average cheesecake; the red velvet vibe brings together the best of both worlds. You’ll usually find the base made from chocolate cookies or an Oreo crust, which adds a bit of crunch that pairs perfectly with the soft filling. Folks often top it with fluffy cream cheese frosting, maybe even adding a swirl or two just for looks. And you know what? Whether you go for a slice or try a red velvet cheesecake recipe with your own spin, it’s always a winner at birthdays, holidays, or whenever you want to impress a crowd. It’s easy to see why this dessert is a favorite—its sweet flavor, colorful look, and just how fun it feels to share make it a hit every time. So next time you're in the mood for something exciting and colorful, try whipping up a red velvet cheesecake and watch it become the star of the show.
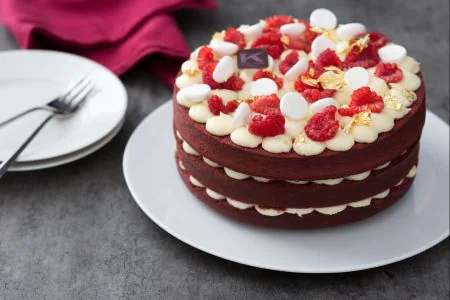
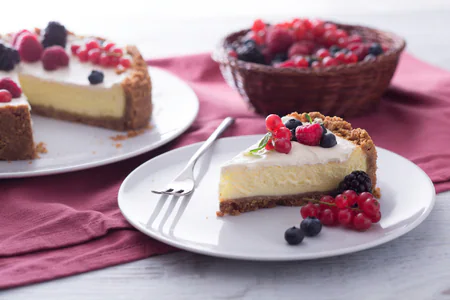
You might also like:
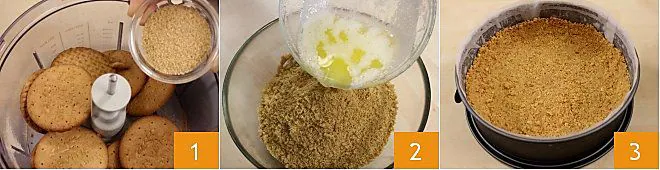
To prepare the Red Velvet cheesecake, start by preparing the crust: put the Digestive biscuits in a mixer along with the brown sugar 1, then finely chop them. Place the butter to melt in a saucepan over low heat; meanwhile, put the chopped biscuits in a bowl and gradually add the melted butter 2; then mix the ingredients well. Butter a cake pan, preferably with a removable bottom, 9 inches in diameter; cut out a circle of parchment paper the same diameter as the bottom of the pan and two strips the same height as the sides, then line the pan itself. For this operation, you can consult the cooking school guide: How to line a cake tin with parchment paper. Now, pour the crumbled biscuits into the pan lined with parchment paper and use the back of a spoon to compact the biscuit base well 3. Cool the mixture in the refrigerator for 30 minutes or in the freezer for about 10-15 minutes.

You can then proceed to prepare the cream: place the cheese and the two eggs in a stand mixer 4, turn on the beaters to mix the ingredients and then add the granulated sugar 5. If you do not have a stand mixer, you can work the ingredients in a large bowl with an electric mixer or a hand whisk. Add the vanilla extract and also incorporate the pouring fresh cream 6 while continuing to mix.
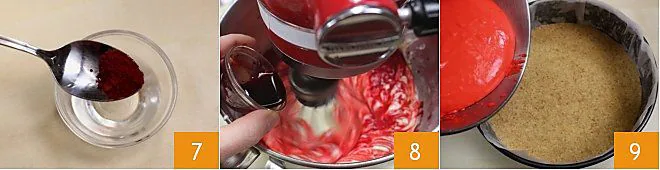
At this point, dissolve the powder colorant in 50 ml (1/4 cup) of water 7, mix with a teaspoon, and add it to the cream 8. If you use liquid or gel colorant, there is no need to dissolve it in water and you can use the amount necessary for the cream to take on the desired color. Mix well with the beaters, and finally, add the sifted potato starch to the cream and mix until you have a uniform red mixture. Then, remove the biscuit base from the refrigerator and gently lay the obtained cream 9. Be careful to cover the surface evenly with the help of a spatula. Bake the cheesecake in a preheated static oven at 340°F for about 60 minutes (if using a fan oven, 300°F for 45-50 minutes).
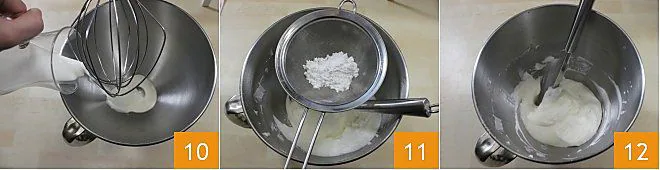
While the cake is baking, proceed to whip the cream for the decoration: pour the liquid cream into a bowl 10 and sift the powdered sugar 11. Then whip the cream to decorate the cheesecake 12. For this step, you can consult the cooking school guide: How to Whip Cream.
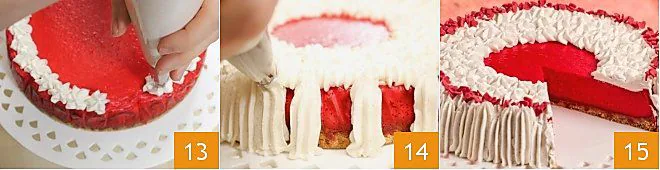
Now you can proceed to decorate the cake: once the baking time is over, remove the cheesecake from the oven and release it onto a serving plate. Let it cool; in the meantime, fill a piping bag with a star nozzle with the previously whipped cream and start garnishing your Red Velvet cheesecake with whipped cream tufts along the circumference of the cake and almost to the center, also decorating the edges (13-14). You can finish the decoration as you like, for example, with colored sugar sprinkles to give a bright red contrast to your Red Velvet cheesecake 15!