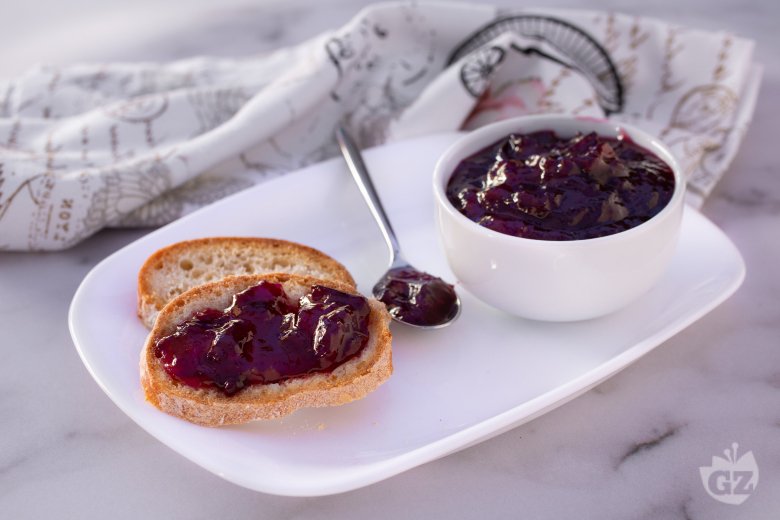


Plum and Ginger Jam
Plum and ginger jam is excellent for spreading on bread or crispy biscuits, but also for filling a good tart.
- Easy
- 1 h 10 min
- Kcal 140
So here's the thing, plum jam is like a must-have on Italian breakfast tables. You know, it adds this comforting vibe when you spoon it onto tender fette biscottate or tuck it into a warm crostata. Honestly, this plum jam recipe is steeped in the tradition of homemade preserves, standing proudly with marmellata di mele, arance, and limoni. The sweet yet kind of tangy flavor of ripe plums—especially yellow susine—can be really special with a hint of ginger. I mean, it gives a tasty twist. A lot of families make their homemade plum jam with less sugar or no pectin, keeping it the way Nonna used to. It is practical and kinda golden, turning a simple breakfast into something really special.
And listen, throughout Italy, people love messing around with this easy plum jam, using it beyond just desserts. Sure, you'll spot it in cookies like occhio di bue or layered in torta di prugne, but it pairs, surprisingly, with local cheeses or roasted chicken—seriously good—and other mild meats. This mix of moist plum and just a hint of sugar creates a preserve that stands out. No question. Compared to other jams, traditional plum jam has this deeper color and rich flavor that’s not too heavy. In different regions, you'll run into various plums or little tweaks, but the core idea remains: start with good fruit, cook it down slowly, and you get a jam perfect for sharing. For sure.
Anyone curious about how to make plum jam the Italian way will love playing around with combinations, maybe adding flavors like ginger or going for a no-pectin approach for that rustic vibe. However you use it, this jam brings a bit of homemade goodness to every meal. And it's always a fun surprise when paired with something unexpected, making it a super versatile pantry staple.
You might also like:

To prepare the plum jam, wash the plums thoroughly under running water 1 and remove the pit. Cut them into pieces 2. Once the pit is removed, you'll get about 2 lbs of pulp. Place the plums in a pot and pour in the sugar and lemon juice 3, then start cooking on low heat.

Stir occasionally to prevent sticking to the bottom. Continue cooking until the jam thickens well 5, it will take about an hour. To check the cooking, perform the plate test: pour a teaspoon of jam onto a plate and let it cool. Tilt the plate 6 and check if the jam stays firm and doesn't slide: in this case, it's ready; otherwise, continue cooking for a few more minutes and test the consistency again in the same way.

When it has thickened 7, pour the jam while still hot into previously sterilized jars 8 and close with the lid 9. Turn the jars upside down on a cloth while they are still hot and let them cool in this position, this will help create a vacuum seal. Always check that a vacuum has been created and maintained over time: if the lid makes a click-clack sound at the center, it means the vacuum has not been created.


