
Easy Asparagus Pasqualina
The easy asparagus Pasqualina is a variant of the typical Easter savory pie filled with vegetables, ricotta, and hard-boiled eggs! Discover…
- Easy
- 2 h
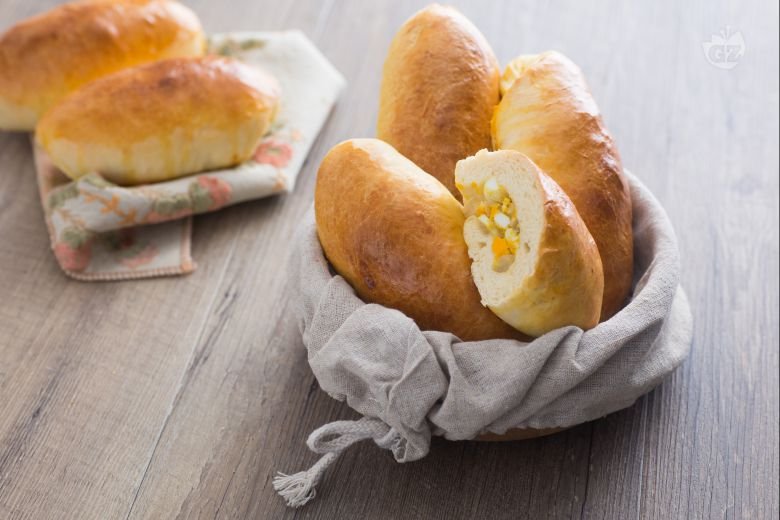
Pirozhki are, no doubt, a beloved staple in Russian kitchens. You know, they just spark joy at family gatherings and festive parties. Honestly, these Russian stuffed buns offer so many possibilities—seriously good stuff—from sweet breakfast treats to savory snacks. And the dough? Well, it starts with a soft, leavened magic that stays moist and fluffy—always good, no matter the filling or shape. In Russia, they vary in shape—sometimes round, sometimes boat-like—but all are really really good.
Fillings are where you get creative. For a sweet morning, maybe try apricot jam or tender cherries tucked inside. But if savory's your thing, cheese, ground meat, or potatoes are popular picks, and they turn out golden, whether fried or baked. There's no set rule, so go ahead and experiment. Plus, everyone has a favorite version. For sure.
Different regions in Russia add their own flair to homemade pirozhki. Some might use cabbage, others mushrooms, and some even go for ricotta and apples for a sweet twist. And look, the beauty lies in the consistent pirozhki dough recipe—which is great—allowing for endless creativity without hassle. These crispy and soft buns serve as appetizers, snacks, or desserts, perfectly pairing with other traditional Russian pastries, like the renowned bird's milk cake. Pretty much. People love them hot out of the oven, but they’re just as satisfying later.
Russian cuisine encourages playful experimentation with pirozhki fillings, making each batch a new adventure. Whether you prefer your hand pies warm and savory or filled with something tangy and sweet, authentic pirozhki give you a taste of Russian tradition and creativity in every bite. They're really really good. Not only do they showcase the diversity of Russian flavors, but they also highlight the culinary innovation defining this vibrant cuisine.

To prepare the pirozhki, first melt the butter and let it cool slightly, then dissolve the yeast in the warm milk 1. In another bowl, add the flour, sugar 2, and the egg 3.

and the lukewarm melted butter 4. Start kneading with your hands and gradually pour in the milk in which you dissolved the yeast 5 and, finally, the salt 6. Work the mixture until you obtain a dough ball,

transfer it to a work surface, and knead until smooth 7. Transfer to a bowl and cover with plastic wrap 8. Let rise for at least 3 hours in a dry place. Meanwhile, work on the filling: peel the onions and slice them thinly 9.

Transfer them to a pan where you have drizzled in some oil 10 and let them wilt until cooked 11; it will take about 10 minutes. In the meantime, place the eggs in a saucepan, cover them with cold water, and count 9 minutes from when it starts boiling before draining them.

As soon as they have cooled slightly, shell them 13 and transfer them to a baking dish. Mash them with a fork, then add the onions 15.

Season with salt and pepper, mix, and store in the refrigerator until use 16. When the dough has doubled in size 17, transfer it to a lightly floured work surface 18.

Divide into 7 portions weighing approximately 5 oz each 19, then shape each portion into a ball 20 and flatten them using the palm of your hand 21.

Place some filling in the center 22, then close the turnovers by bringing one end over the filling 23 and rolling them slightly 34.

Pinch the ends to seal the pirozhki, then transfer them to a baking sheet lined with parchment paper 26. Beat the egg yolk with the milk and use it to brush the surface 27.

Bake the pirozhki in a preheated static oven at 392°F for 20 minutes on the center rack. Once baked 29, let your pirozhki cool slightly before serving them 30!