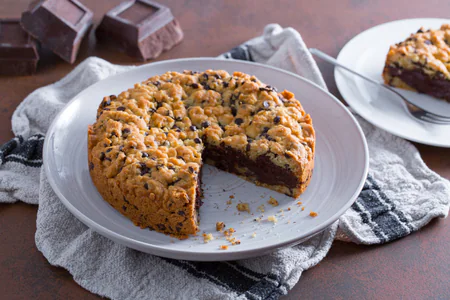
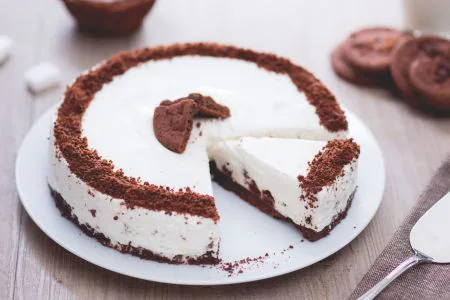
Cookie cheesecake
Cookie cheesecake is a fresh and delicious temptation: an original cheesecake enriched with the famous American chocolate cookies!
- Average
- 30 min
- Kcal 559
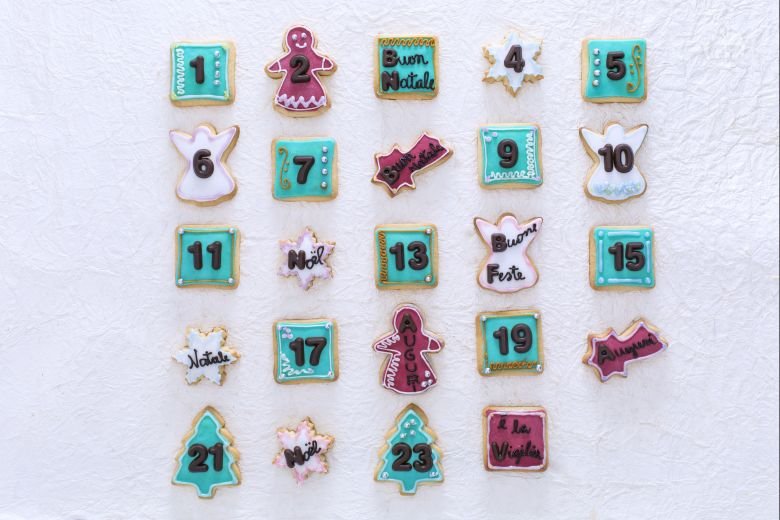
You know, when the holiday season kicks off, nothing makes it sweeter than a cookie advent calendar. Really, it’s such a fun tradition! Originating in Germany, this turns the countdown to Christmas into a daily delight. Imagine it. Opening a tiny door each day to find a cookie shaped like stars, snowflakes, trees, or angels. Super cute. Each one’s decorated with colorful sugar paste and sprinkles—making every treat a little work of art. Plus, this Christmas cookie countdown is a favorite across Europe. It brings excitement to December days—no question.
Gathering around the table to roll out dough and shape these cookies makes the holiday cookie calendar a cherished tradition. Soft trees, tender snowflakes, or crispy stars, all packed with sweet memories, are pretty much what the season’s about. And listen, with endless decorating options, every year’s batch can be a fresh take on a beloved classic. Advent cookies are more than just a treat; they’re a chance to share stories, laugh, and build joyful anticipation as Christmas gets closer.
Whether you're part of a big family or a small group, the cookie advent calendar is about the joy of creating and the sweet surprise waiting each day. And you know what? Between the festive colors and the smell of fresh-baked cookies—so so good—this countdown brings heaps of holiday cheer. Each day leading up to Christmas feels special, which is great. Whether it’s called a Christmas cookie countdown, a holiday cookie calendar, or simply a cookie countdown, this tradition keeps the holiday spirit alive—one delicious cookie at a time. So, why not jump in and create your own cookie adventure this season? Can’t go wrong.
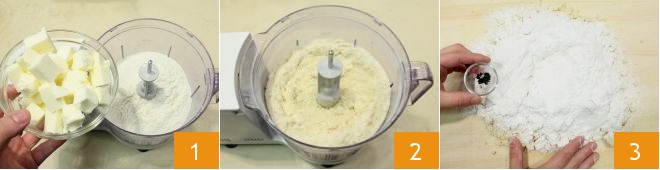
To make the cookie advent calendar, start with the sablage process: place the sifted flour, a pinch of salt, and the butter just taken out of the fridge 1 in a food processor, still cold, roughly chopped. Blend everything until you get a sandy, floury mixture 2; pour the obtained mixture onto a work surface, sift the powdered sugar and add it to the dough, along with the seeds of a vanilla pod.
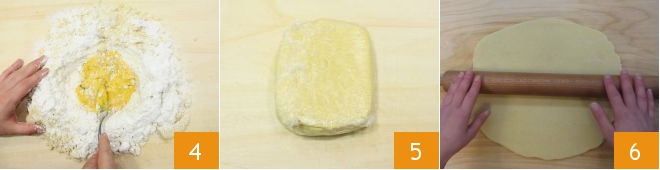
Create a well in the center and pour in the egg yolks, then start mixing everything first with a fork 4, then when the eggs have absorbed the flour, you can proceed by hand. Knead briefly and form a loaf, flatten it before wrapping it in plastic wrap 5; place it in the refrigerator to firm up for at least 30 minutes. After the necessary time, remove the plastic wrap and use a rolling pin to beat the dough to soften it without warming it. Then roll it out to a thickness of about 1/4 inch 6 and create Christmas shapes with cookie cutters (you should get 34 cookies).

and create Christmas shapes with cookie cutters (you should get 34 cookies): little trees 7, snowflakes, square windows, angels 8, and shooting stars 9.

Place the obtained shapes on a baking tray lined with parchment paper 10 and let the cookies firm up in the refrigerator for about 30 minutes. After the indicated time, bake the cookies in a preheated static oven at 340°F for 10 minutes (or in a fan oven at 300°F for 6-8 minutes). Once baked, remove the cookies from the oven 11 and let them cool completely on a wire rack 12.

In the meantime, take care of the decoration, take the fondant and divide it into 3 equal parts, one will remain white, another will be colored with the addition of red gel food coloring, and the third with the addition of yellow and blue food coloring 13 to obtain green.

With the white fondant, cut out snowflake shapes 16 and angel shapes using the same cookie cutters. Roll out the green fondant as before and cut out Christmas tree shapes 17 and squares 18.
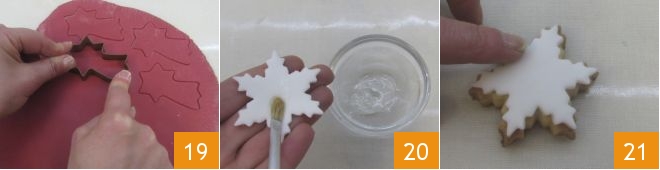
Proceed with the red fondant, cutting out shooting stars 19 and little men. Pass food glue over each shape 20 and place the glued side on the corresponding cookie shapes (the cookies must be completely cold) 21.
Complete all the cookie shapes 22. Let the food glue dry and then continue with the decoration: take the chocolate letters and numbers, choose a number for your calendar (for example, number 1) 23 and apply food glue on the base 36 and then place it on a square cookie. Continue with the letters, for example, the letter b 34

to create a greeting phrase with the chocolate pencil 25. To give a touch of sparkle to the cookies, use the glitter gel pens 26 and decorate all the cookies of the advent calendar to your liking 27!