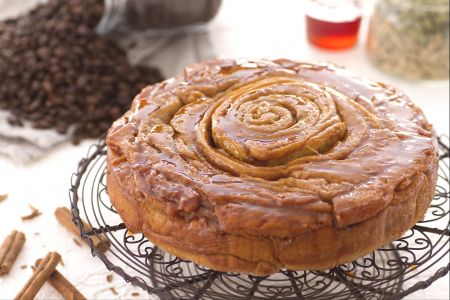

Angel cake
The angel cake is a very soft American cake made only with egg whites, sugar, and cream of tartar, baked in a special cylindrical mold.
- Average
- 55 min
- Kcal 344
Coffee angel cake? Oh, it’s an American classic, you know, with that light, airy, almost cloud-like texture that’s just—well—really something special. So here's the thing: this twist on the traditional coffee angel cake recipe brings in a subtle coffee flavor, creating a dessert that’s not too sweet but still moist and satisfying. Really, it’s all about whipping those egg whites just right. Can’t skip this step if you want your cake tall and, honestly, beautiful.
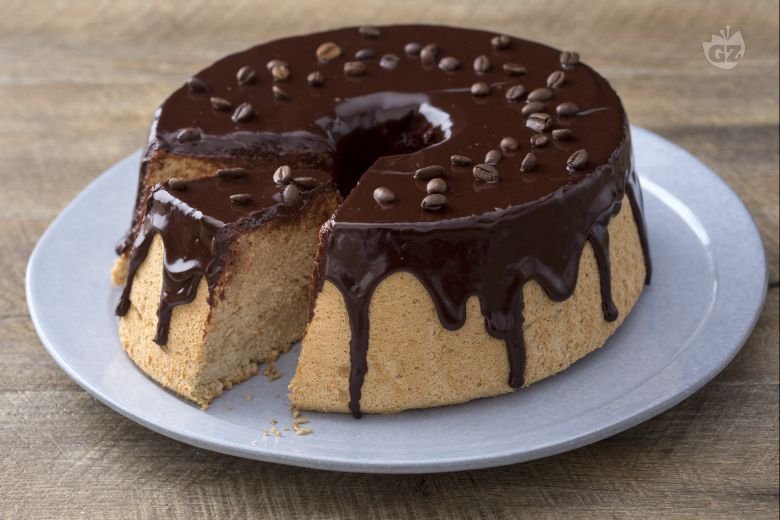
And look, some folks add a chocolate topping—fancy, right? It gives the coffee-flavored angel food cake a touch of elegance, making it perfect for Father’s Day or family gatherings. Plus, the aroma? A gentle, nutty coffee scent that fills the kitchen. Seriously good stuff. And you know what? While versions of this cake pop up all across the US, most bakers will tell you: keep it light, avoid over-mixing. That’s the trick to getting that coffee angel food cake finish.
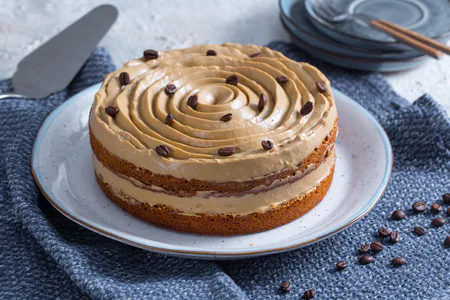
Pretty simple, really, but it perfectly balances fancy and simple—so, so accessible even if you’re not a pro baker. Its tender, spongy crumb pairs beautifully with a cup of coffee or at a brunch. People love how it doesn’t feel heavy after a meal. Unlike other rich cakes, the coffee-flavored angel food cake brings a golden hue and just enough sweetness without being over the top.
And listen, there’s something super special about slicing into a homemade coffee angel cake and seeing it hold its height and shape—thanks to careful mixing and baking, no question. It’s a favorite for anyone into coffee dessert recipes that are both delicious and easy to share. Just a bit of attention to detail, and you’ve got a dessert that looks as good as it tastes. Pretty much. A light bite with a hint of coffee that keeps everyone coming back for more. For sure.
You might also like:
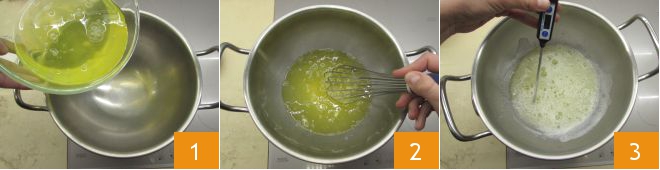
To prepare the coffee angel cake, first make the coffee and let it cool. Secondly, carefully separate the egg whites from the yolks and ensure that the tools for beating the egg whites are perfectly clean. Pour the egg whites into a mixing bowl for bain-marie cooking 1, turn on the heat to low, and gently stir with a whisk 2 to bring them to a temperature of 113°F, measured with a kitchen thermometer 3; alternatively, you can warm the egg whites in the microwave at maximum power for 5-6 seconds at a time.
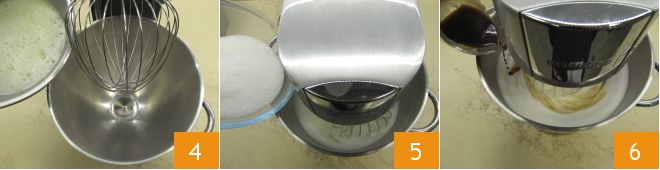
Once the temperature is reached, pour the egg whites into the bowl of a stand mixer fitted with a whisk attachment 4 and start beating at medium speed. As soon as the egg whites begin to become white, gradually add the sugar while keeping the mixer running 5. At this point, also add the salt and coffee 6 and continue working until it is completely incorporated and you have obtained a puffy and frothy mixture.
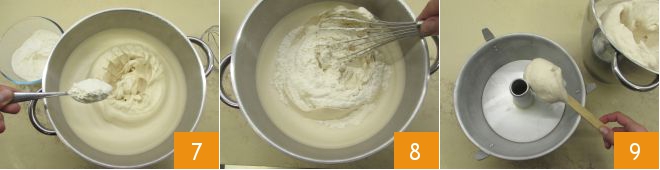
In a separate bowl, sift together the flour and cream of tartar. Add the dry ingredients to the egg white mixture, one spoonful at a time 7, stirring gently from bottom to top with a whisk or spatula to prevent it from deflating 8. Take an angel cake or chiffon cake mold (bottom diameter 8.66 inches, top diameter 10.34 inches, height 3.94 inches) and fill it with the obtained mixture; there's no need to butter and flour the mold 9.
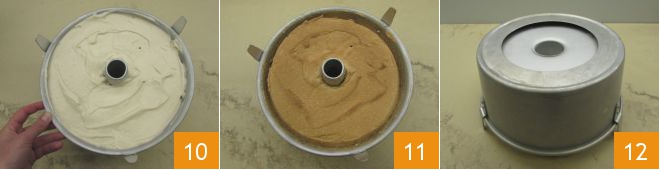
Gently level the mixture with a spatula, being careful not to shake or hit the mold to prevent it from deflating 10, and bake the angel cake in a preheated static oven at 374°F for 30-35 minutes. After the baking time, check with a toothpick and take out the cake 11, then invert the mold on the work surface, resting it on the appropriate feet 12: this way it will cool without deflating.
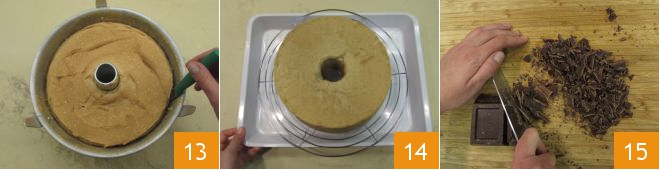
Once completely cool, gently run the blade of a knife along the sides of the mold to detach it more easily 13 and unmold the cake onto a wire rack under which you have placed a tray 14. At this point, you can take care of the coating: chop the dark chocolate 15 and transfer it to a bowl,
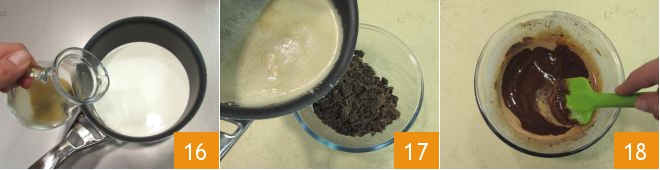
then pour the cream and coffee into a saucepan 16. When the mixture comes to a boil, add it to the chopped chocolate 17 and stir well to combine everything 18.
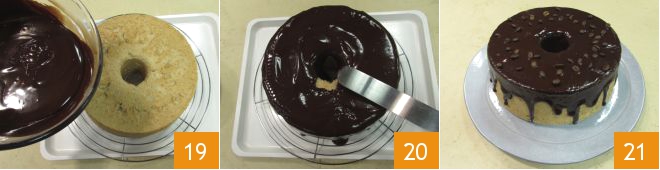
Pour the glaze thus obtained over the surface of the cake 19 and spread it with a spatula, letting it flow down the sides as well 20, then decorate with roasted coffee beans and let it rest for at least 5 minutes to allow the coating to crystallize: your delicious coffee angel cake is ready to be served 21!